In this tutorial, we will show you how to set up IKEv2 VPN on macOS but first let’s see what are our requirements and recommendations.
Requirements
In order to set up the IKEv2 VPN you will need:
- A VPN account. You can order it from your member account-->Enable VPN service now.
- Your VPN username, password, and VPN server IKEv2 hostname. You can find them in your member account --->VPN.
Now let's guide you to set up IKEv2 VPN manually, go step-by-step through the following instructions:
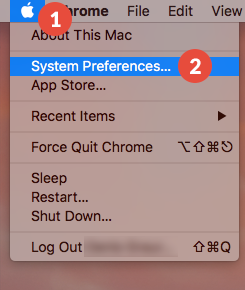
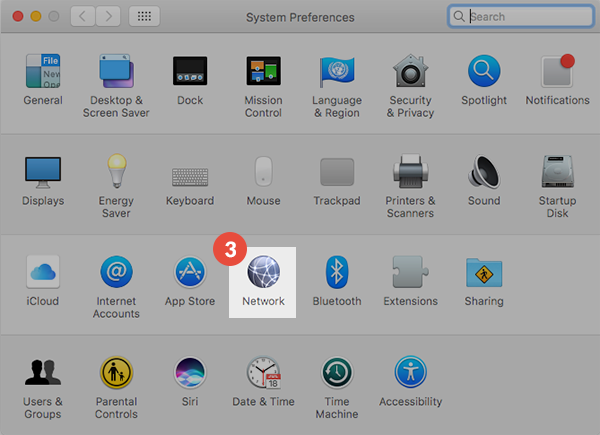
1. On your Mac, choose Apple menu  > System Preferences, then click Network.
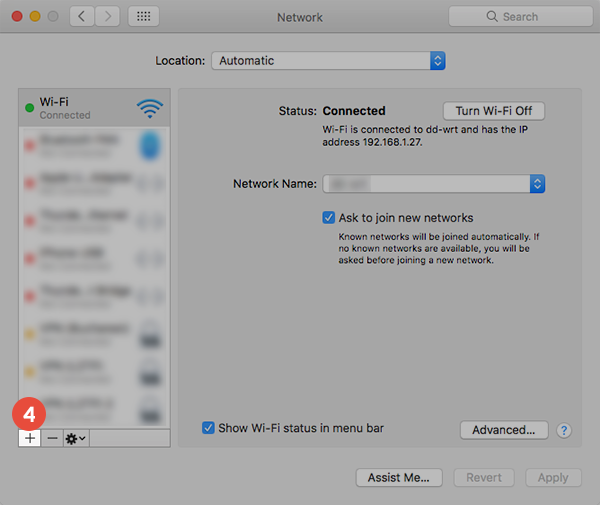
2. Click the Add button  in the list on the left, click the Interface pop-up menu, then choose VPN.
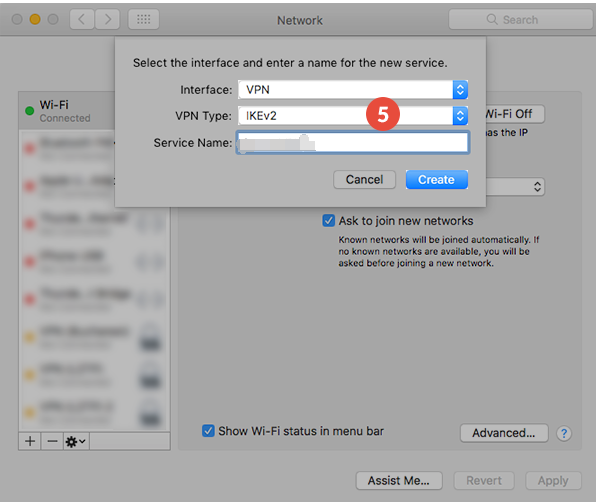
3. Click the VPN Type pop-up menu, then choose what kind of VPN connection you want to set up, depending on the network you are connecting to. Give the VPN service a name, then click Create.
 ?
?
Please note: IKEv2 is a protocol that sets up a security association in IPSec.(choose this type when using our VPN service)
4. On the next screen do the following:In the “Server Address“ (6) field type the hostname of the VPN server you desire to connect to. You can find all the available servers in member account ---> VPN. In the “Remote ID” field (6) type the same hostname one more time. (Note: Case sensitive, please use lower case for all)
5.Click on “Authentication Settings…” (7). Enter your VPN username and VPN password in the corresponding fields (8). You can find your VPN username and password in your member account -> VPN.
Make sure you use your VPN username and password and NOT the website account credentials. Click on OK (9).
6. Click on “Apply” (10). Your IKEv2 VPN on macOS connection is now created.To connect to VPN, click on “Connect” (11).
Now your PC is connected to VPN successfully!